International Award for 'the Attic'
JDWA (Johan de Wachter Architecten)
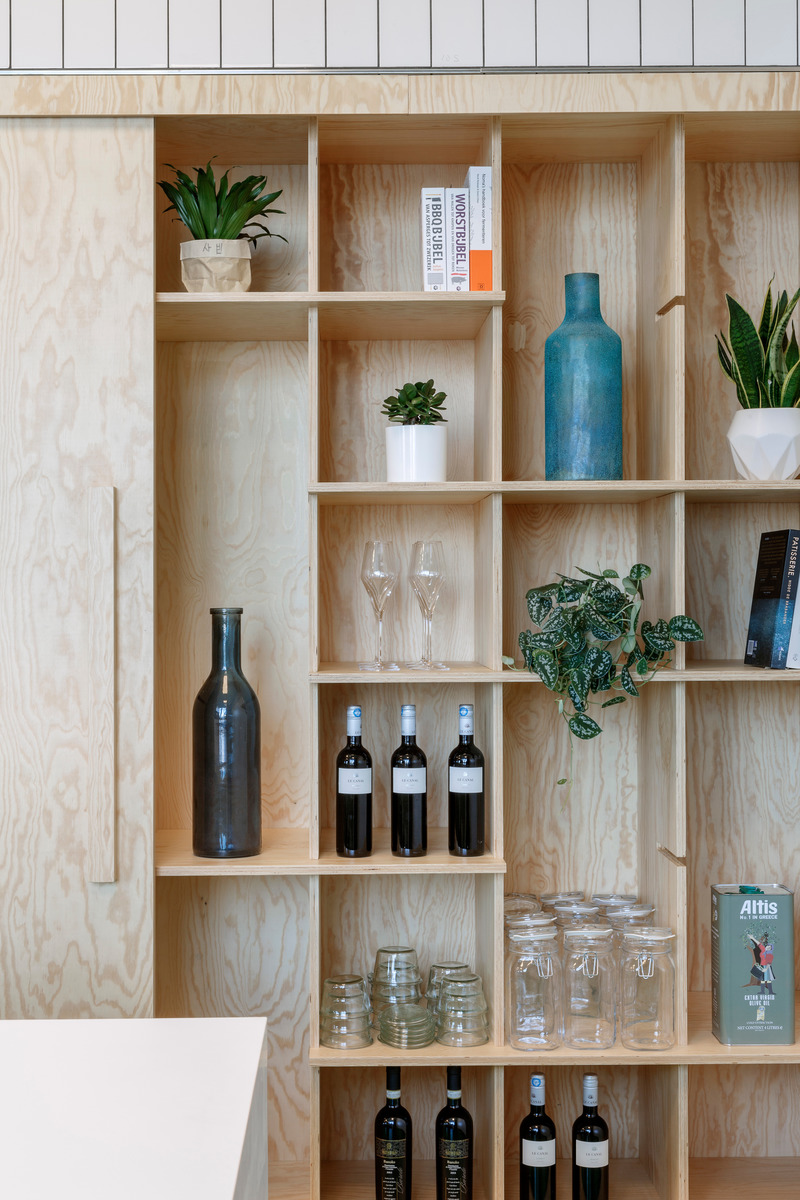
The furniture is designed in detail and can be adapted to the user’s needs.
Photo credit:
Sonia Mangiapane
International Award for 'the Attic'
JDWA (Johan de Wachter Architecten)
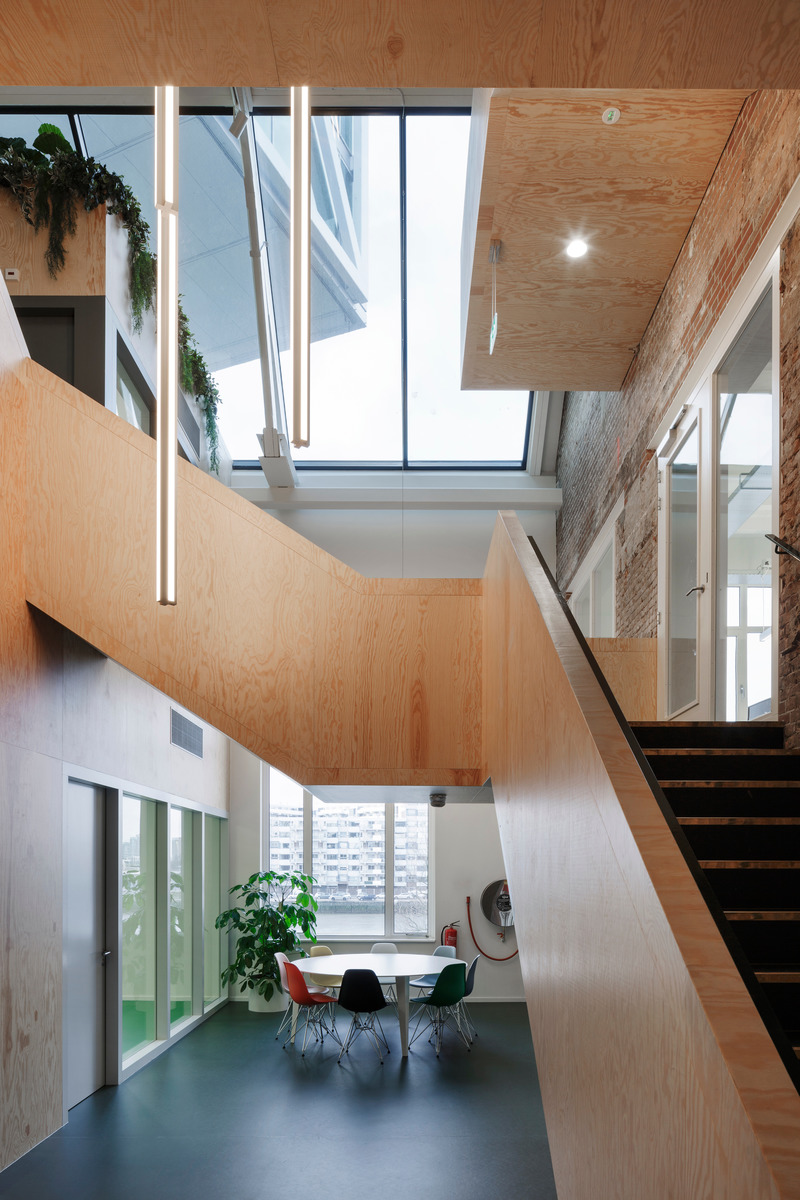
A meeting room is centrally located as a connecting element between the different levels.
Photo credit:
Sonia Mangiapane
International Award for 'the Attic'
JDWA (Johan de Wachter Architecten)
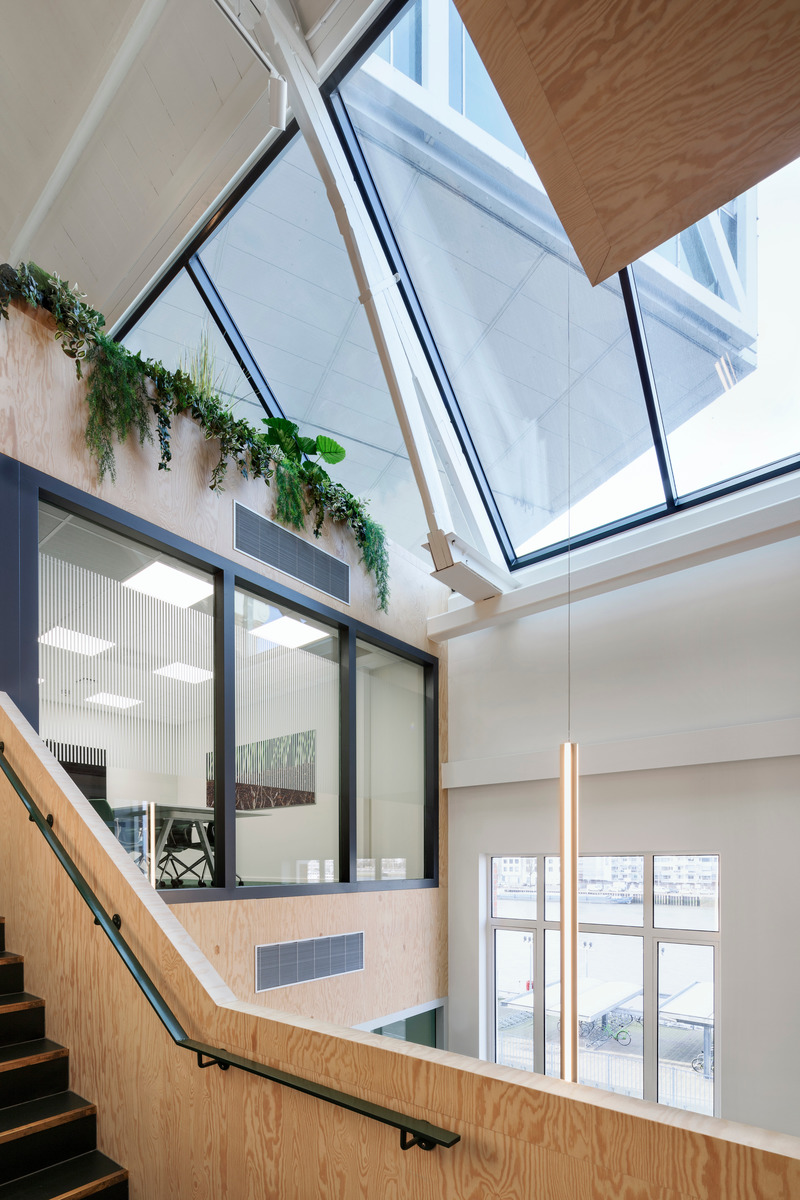
The iconic Bridge building is hovering above the existing buildings and is visible from the void.
Photo credit:
Sonia Mangiapane
International Award for 'the Attic'
JDWA (Johan de Wachter Architecten)
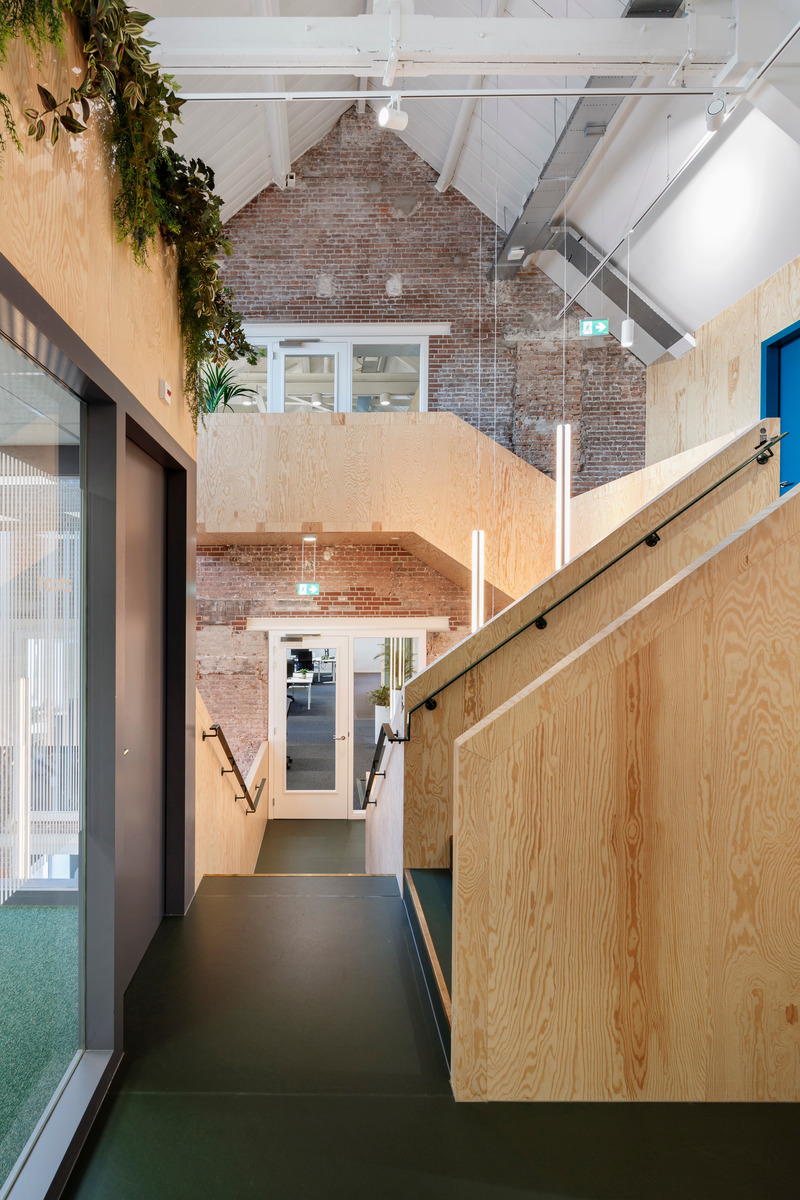
Where the two buildings meet a connection between the different floors is realized by inserting a large void.
Photo credit:
Sonia Mangiapane
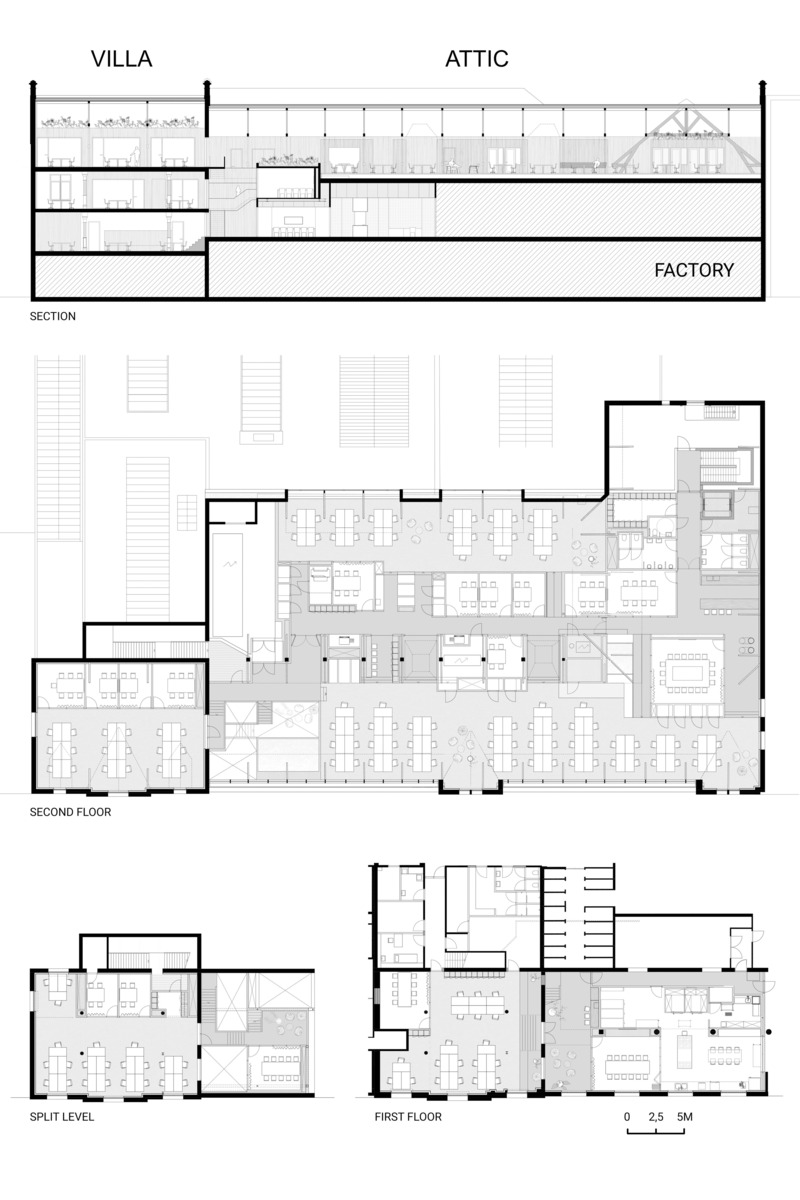
International Award for 'the Attic'
JDWA (Johan de Wachter Architecten)
Plans and section.
Photo credit:
JDWA

International Award for 'the Attic'
JDWA (Johan de Wachter Architecten)
All offices, laboratories, kitchens, logistics and production combined on one site.
Photo credit:
JDWA
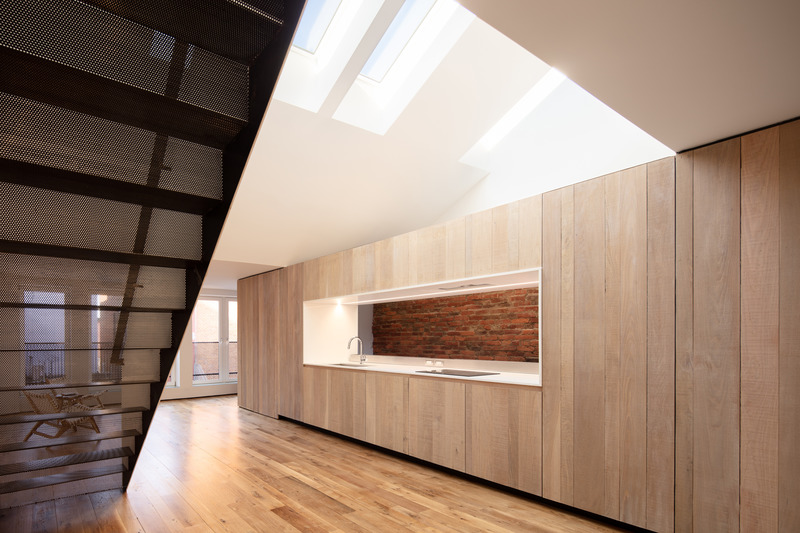
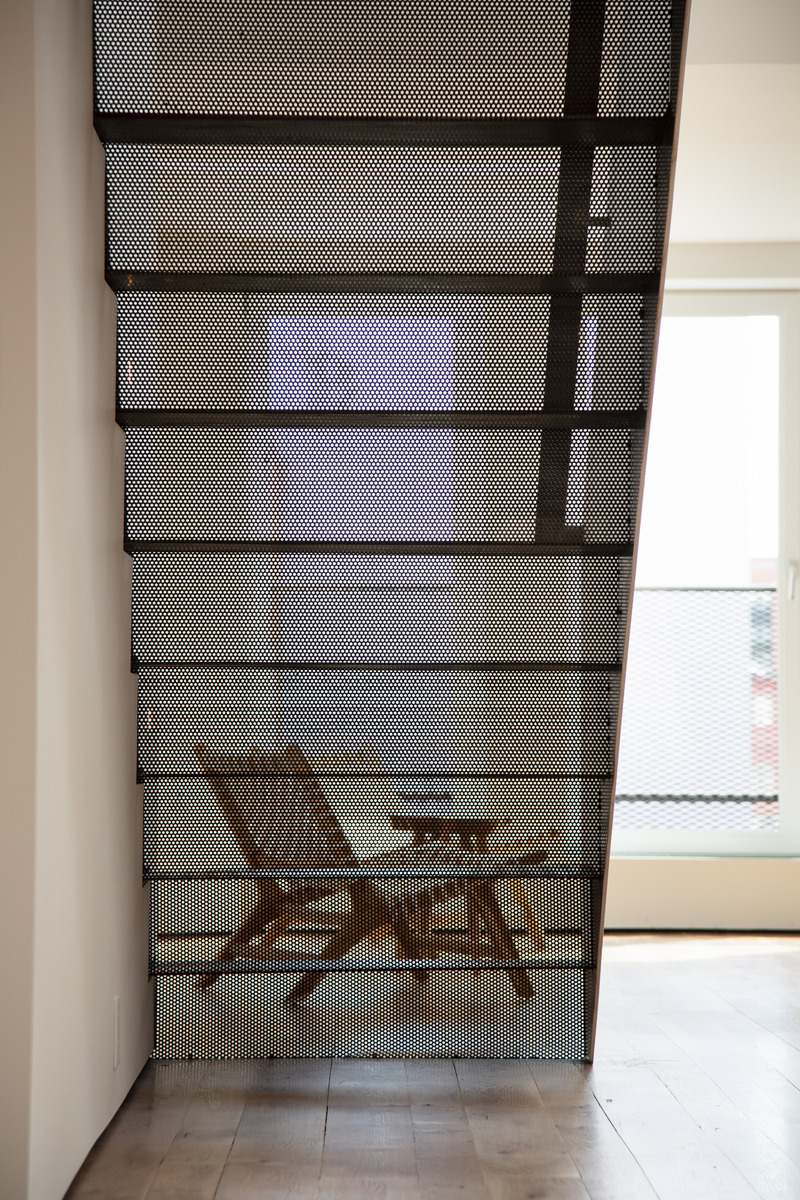
Downtown Loft
Bushman Dreyfus Architects
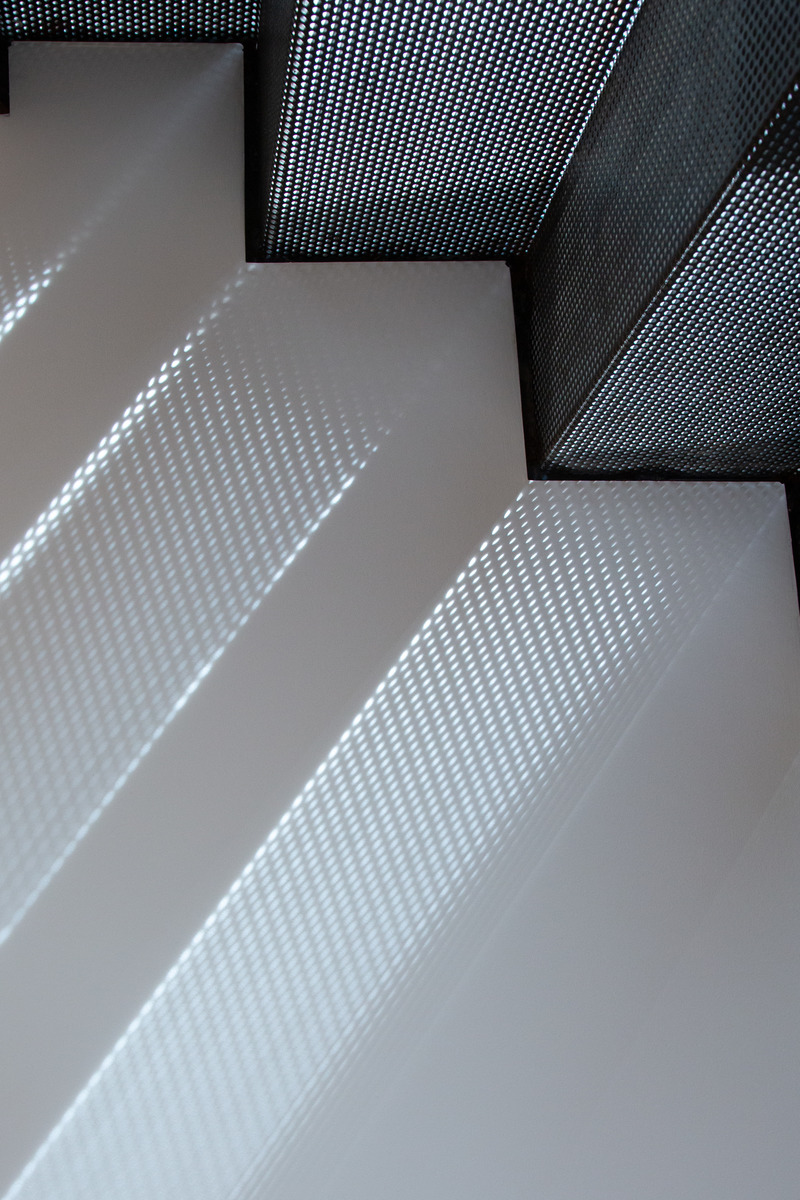
Perforated loft stair & kitchen
Photo credit:
Virginia Hamrick Photography
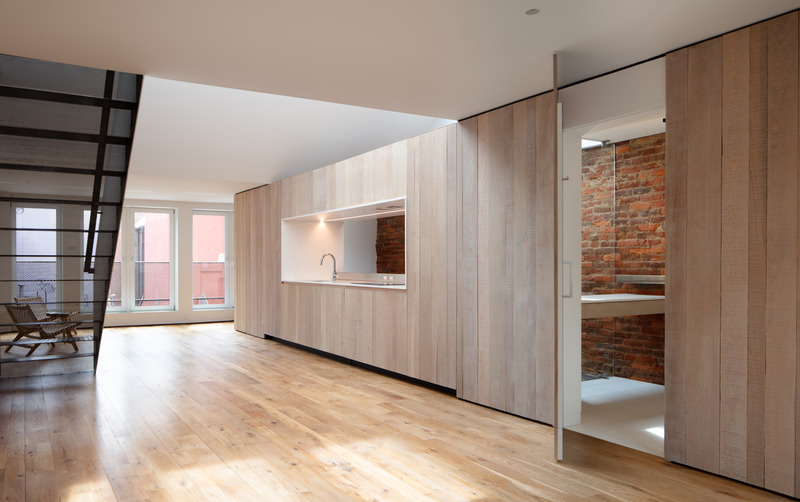
Downtown Loft
Bushman Dreyfus Architects
Hidden door to bathroom
Photo credit:
Virginia Hamrick Photography
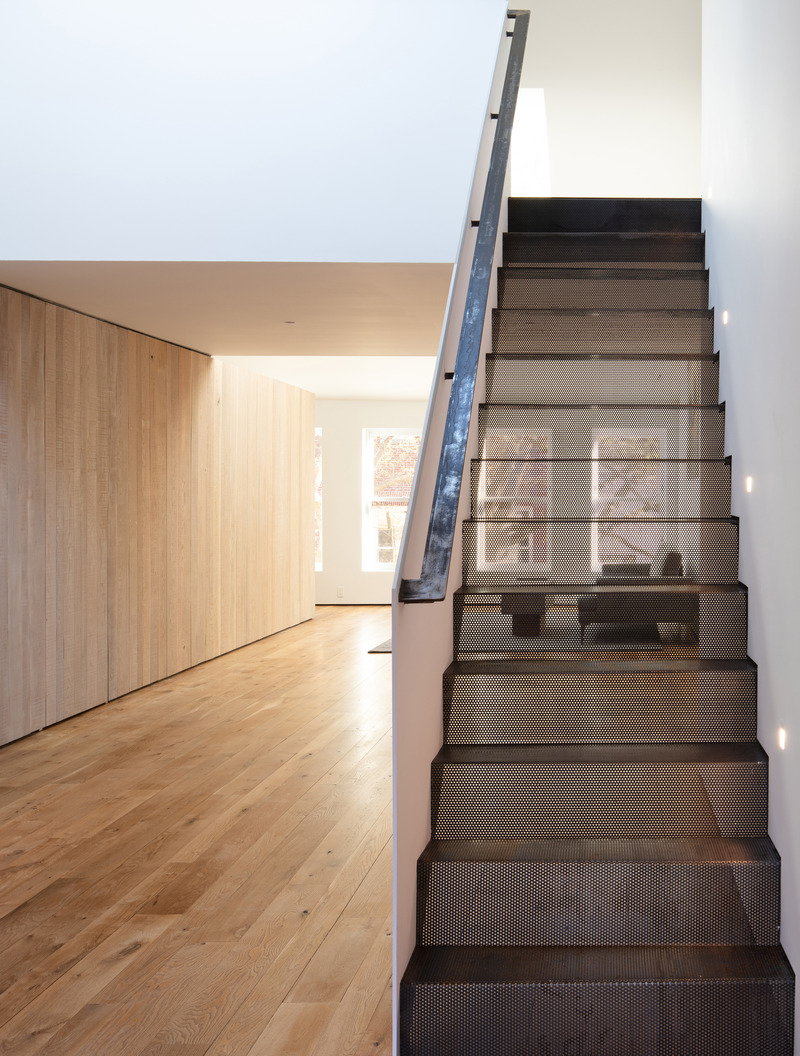
Downtown Loft
Bushman Dreyfus Architects
Loft stair
Photo credit:
Virginia Hamrick Photography

Downtown Loft
Bushman Dreyfus Architects
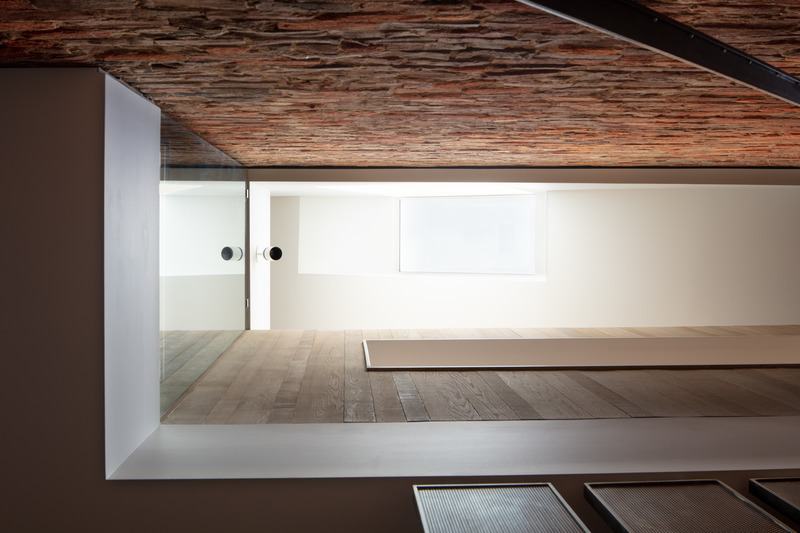
View from loft
Photo credit:
Virginia Hamrick Photography


Advertising
Downtown Loft
Bushman Dreyfus Architects
View towards pedestrian mall
Photo credit:
Virginia Hamrick Photography
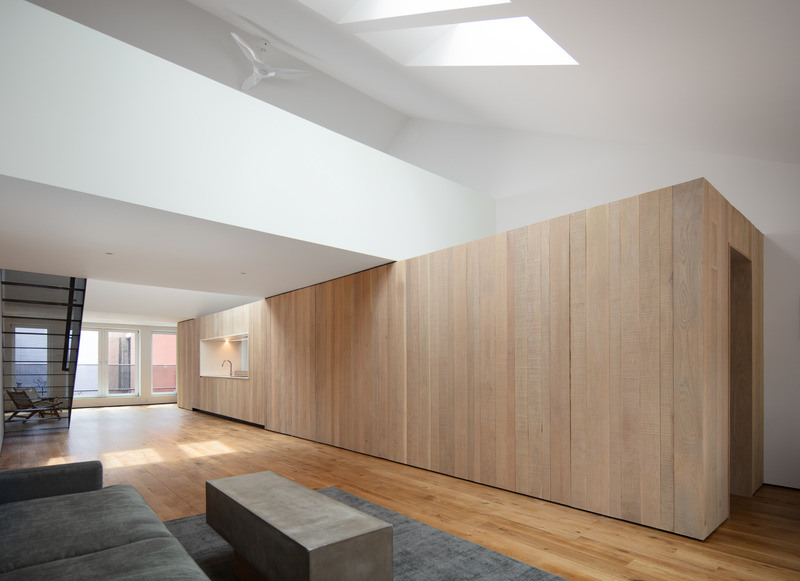
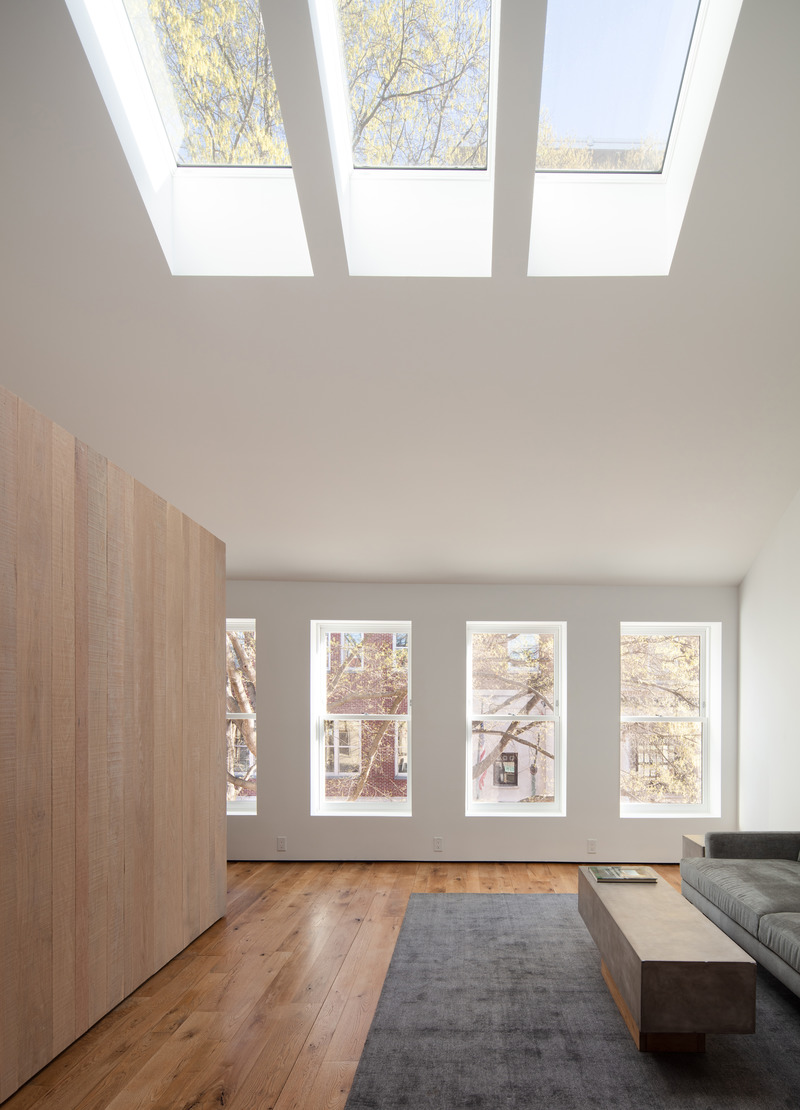
Downtown Loft
Bushman Dreyfus Architects
Open loft floating above the oak volume
Photo credit:
Virginia Hamrick Photography
Downtown Loft
Bushman Dreyfus Architects
Loft stair
Photo credit:
Virginia Hamrick Photography
Downtown Loft
Bushman Dreyfus Architects
At top of the entry stair looking towards the bathroom
Photo credit:
Virginia Hamrick Photography
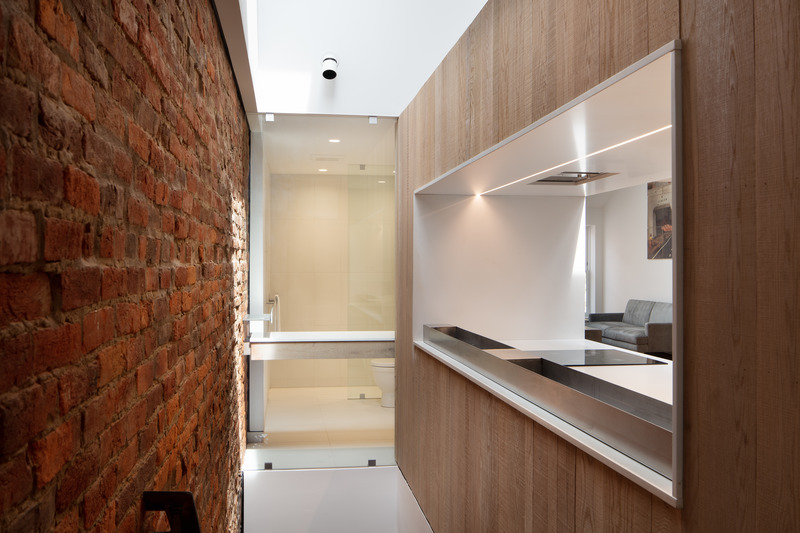
Downtown Loft
Bushman Dreyfus Architects
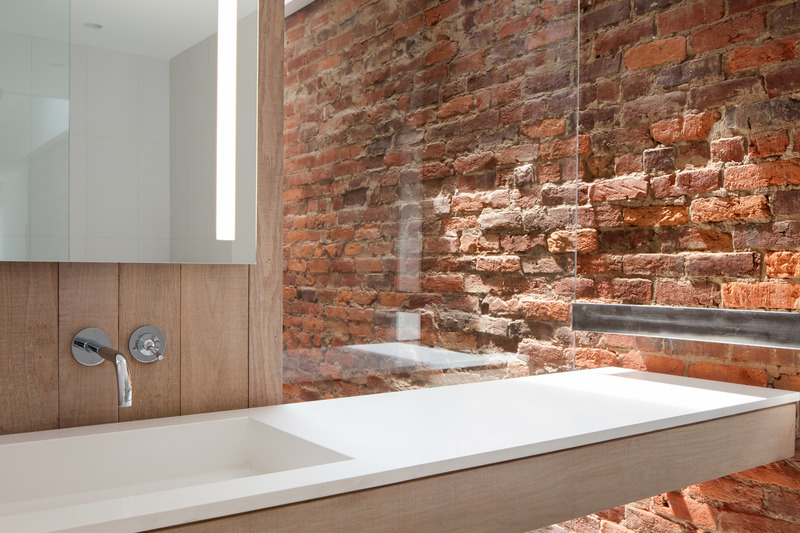
Bathroom vanity & original brick
Photo credit:
Virginia Hamrick Photography
Downtown Loft
Bushman Dreyfus Architects
Skylight above the entry stair
Photo credit:
Virginia Hamrick Photography
Downtown Loft
Bushman Dreyfus Architects
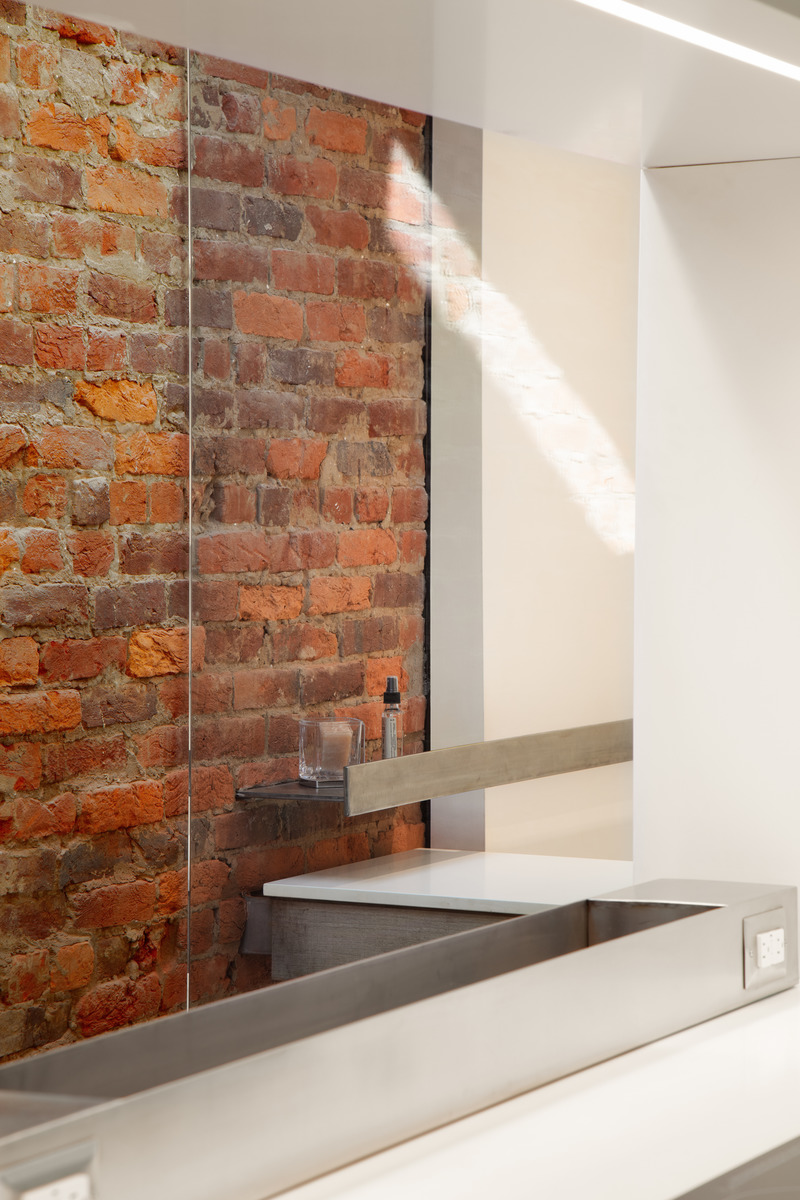
Kitchen & bathroom details
Photo credit:
Virginia Hamrick Photography
Downtown Loft
Bushman Dreyfus Architects
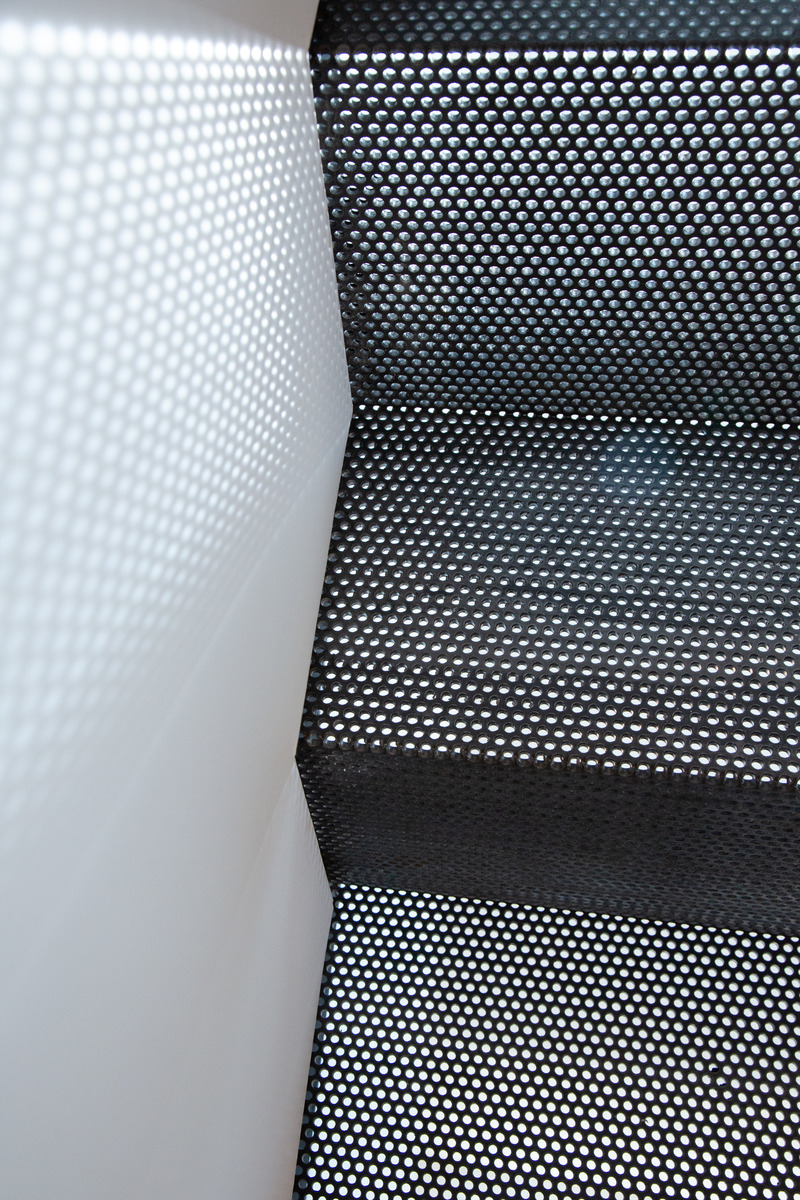
Loft stair detail
Photo credit:
Virginia Hamrick Photography
Downtown Loft
Bushman Dreyfus Architects
Loft stair detail
Photo credit:
Virginia Hamrick Photography
Downtown Loft
Bushman Dreyfus Architects
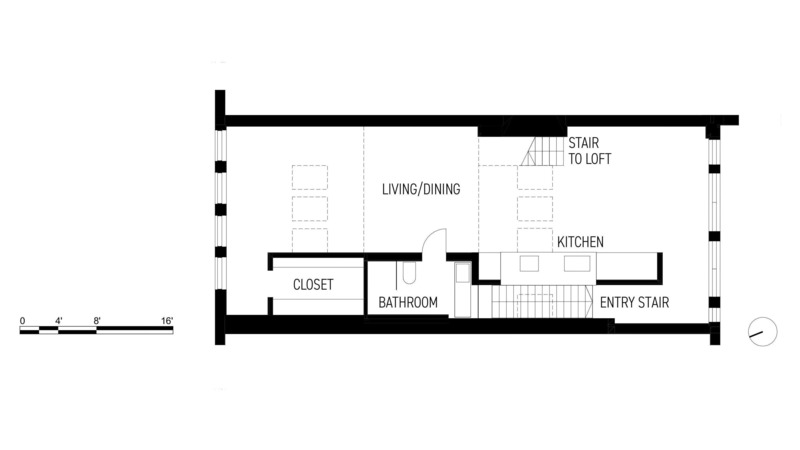
LOFT apartment plan
Photo credit:
Bushman Dreyfus Architects
Advertising