Photo gallery
Architecture & Design
Find images by browsing the photo gallery by category. Add them to your Pinterest boards. Access the press kit to download the image or view project details.
Create a media account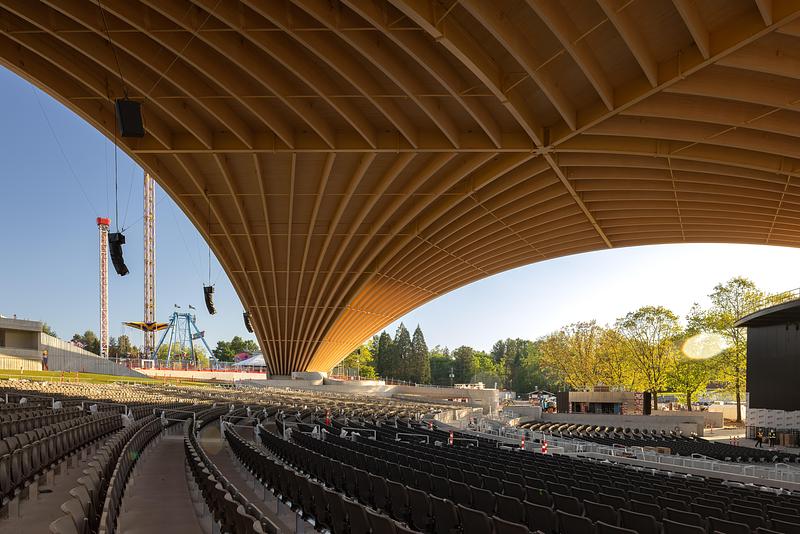
Freedom Mobile Arch
Revery Architecture
One of three buttress connections to the foundation
Photo credit:
Ema Peter
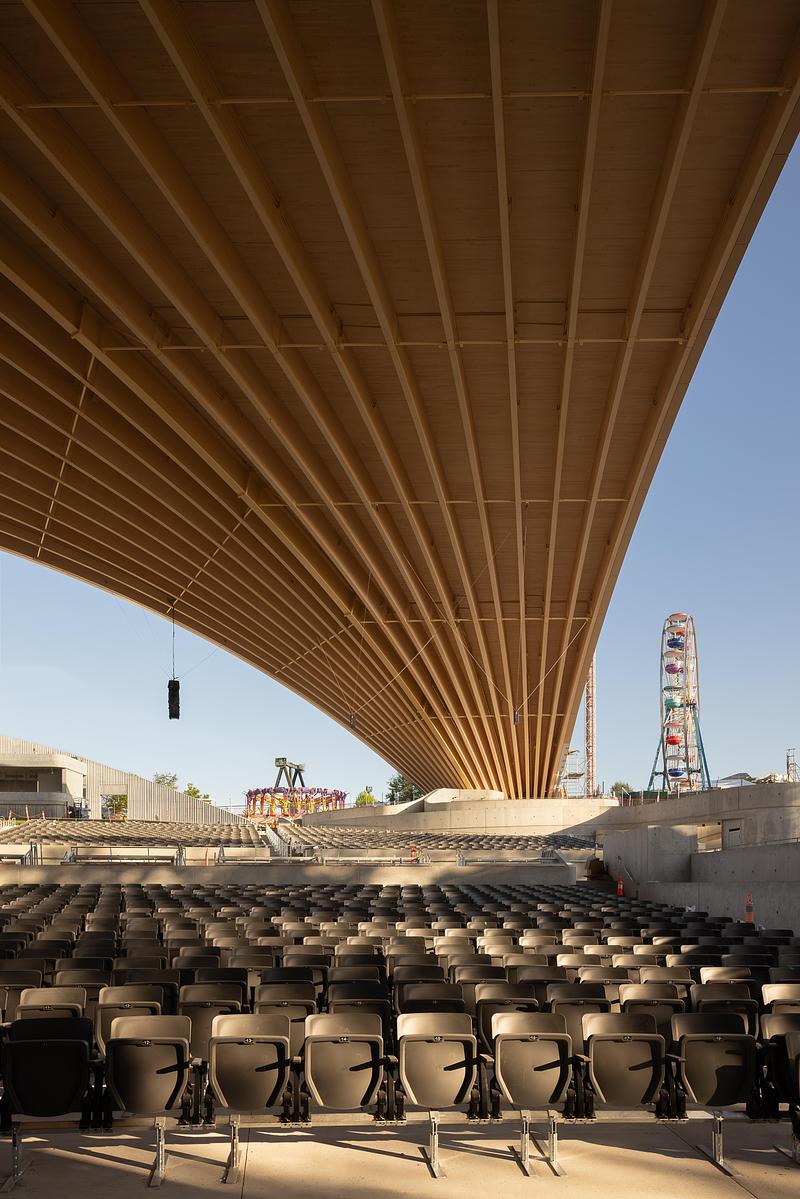
Freedom Mobile Arch
Revery Architecture
Covered seating sections
Photo credit:
Ema Peter
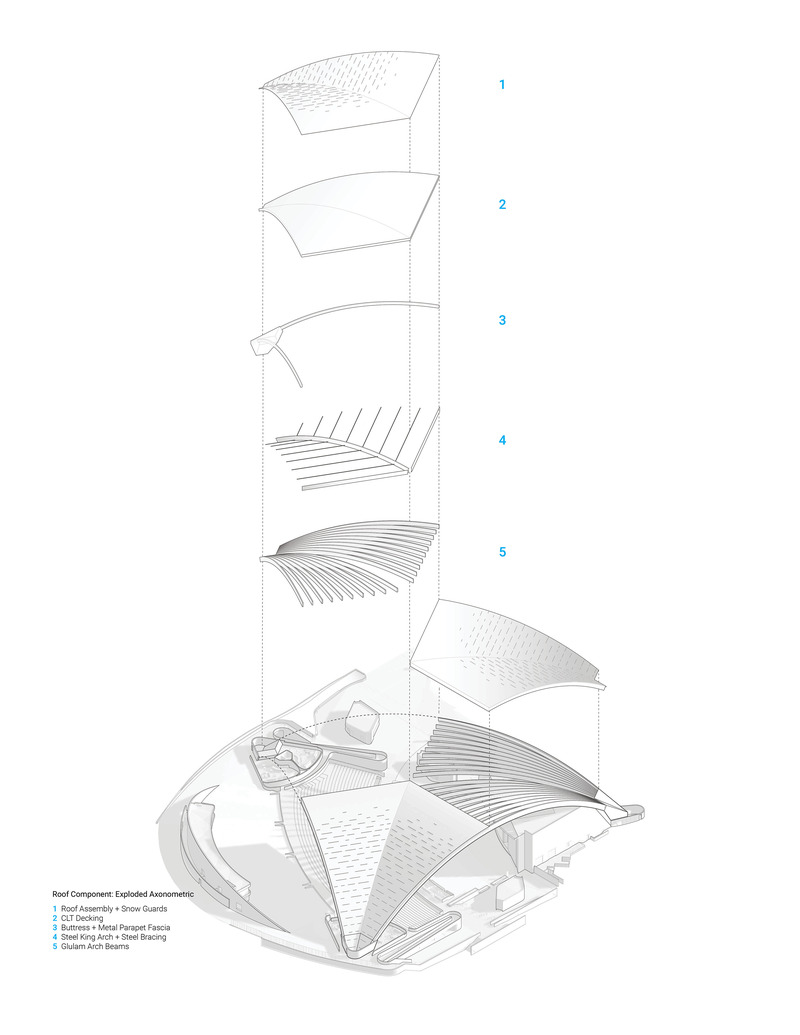
Freedom Mobile Arch
Revery Architecture
Exploded axonometric diagram
Photo credit:
Revery
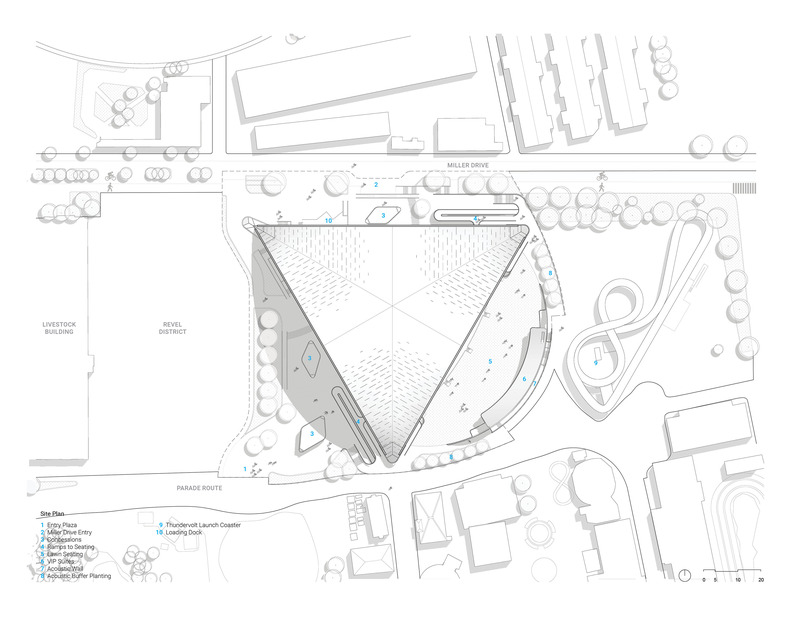
Freedom Mobile Arch
Revery Architecture
Site plan
Photo credit:
Revery
Freedom Mobile Arch
Revery Architecture
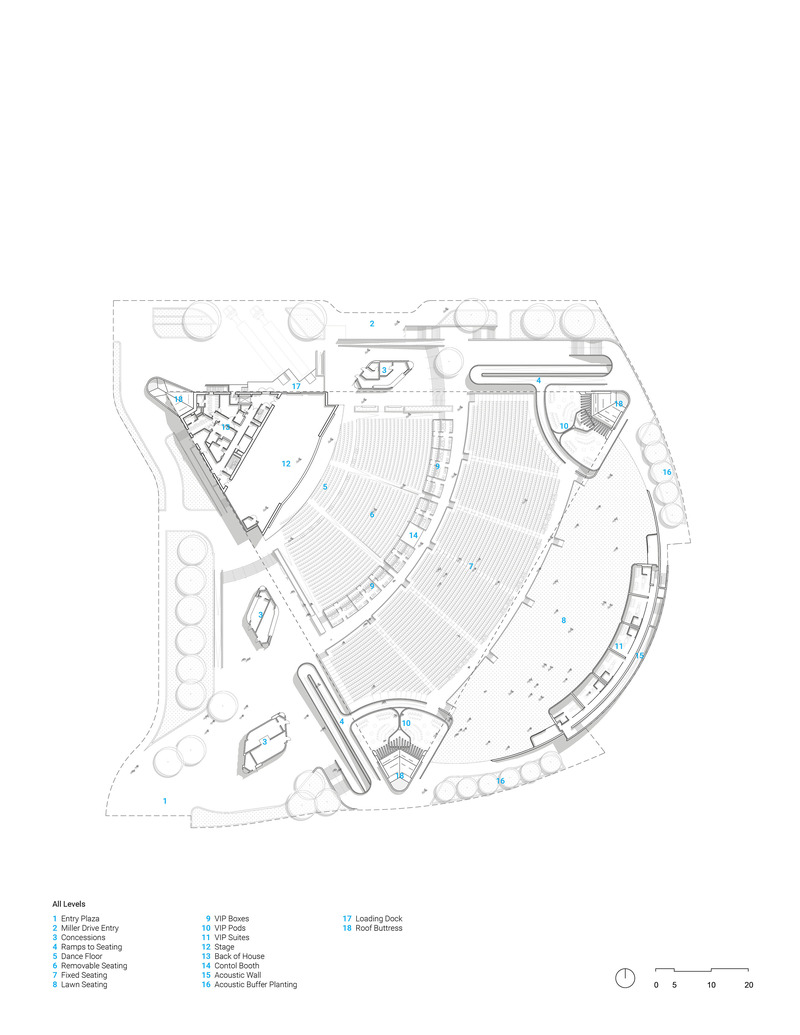
All levels plan
Photo credit:
Revery
Freedom Mobile Arch
Revery Architecture
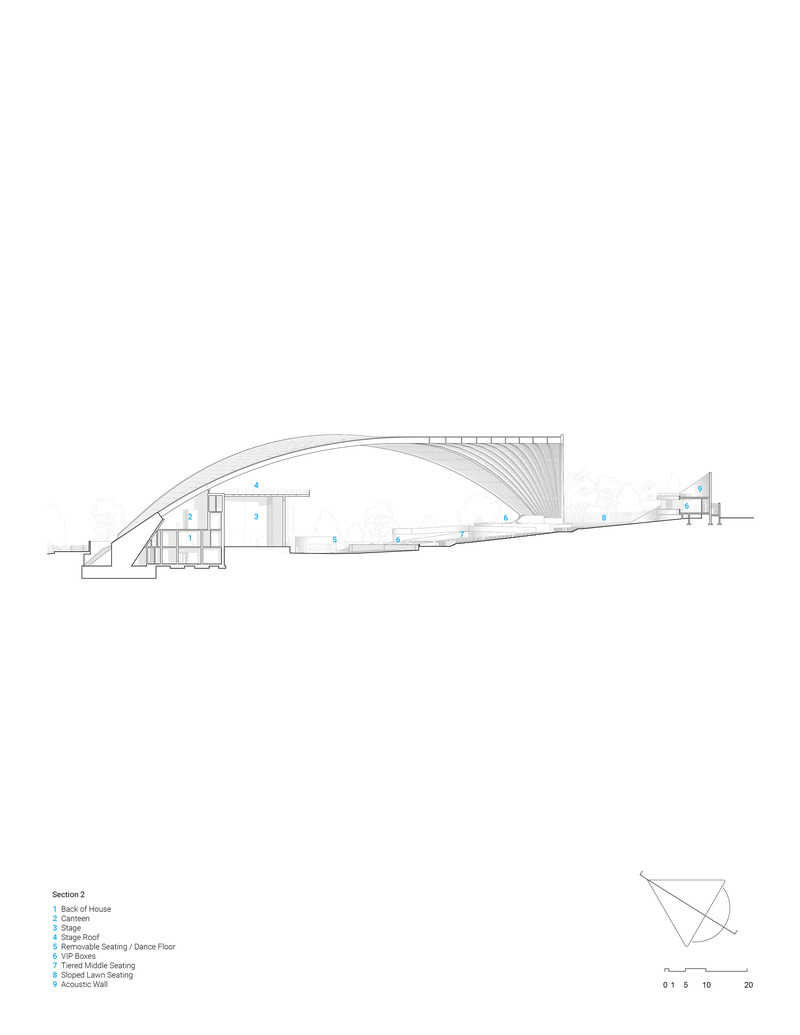
Section 2
Photo credit:
Revery
Freedom Mobile Arch
Revery Architecture
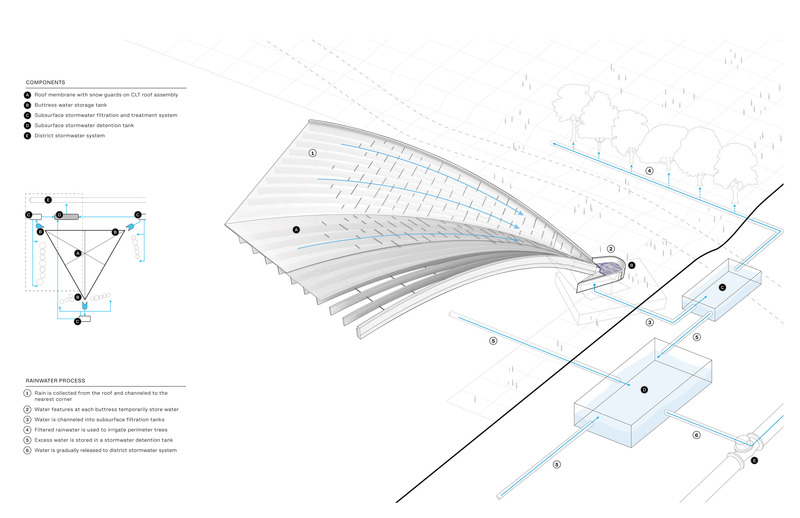
Integrated stormwater management system
Photo credit:
Revery

Advertising
Advertising