Photo gallery
Architecture & Design
Find images by browsing the photo gallery by category. Add them to your Pinterest boards. Access the press kit to download the image or view project details.
Create a media account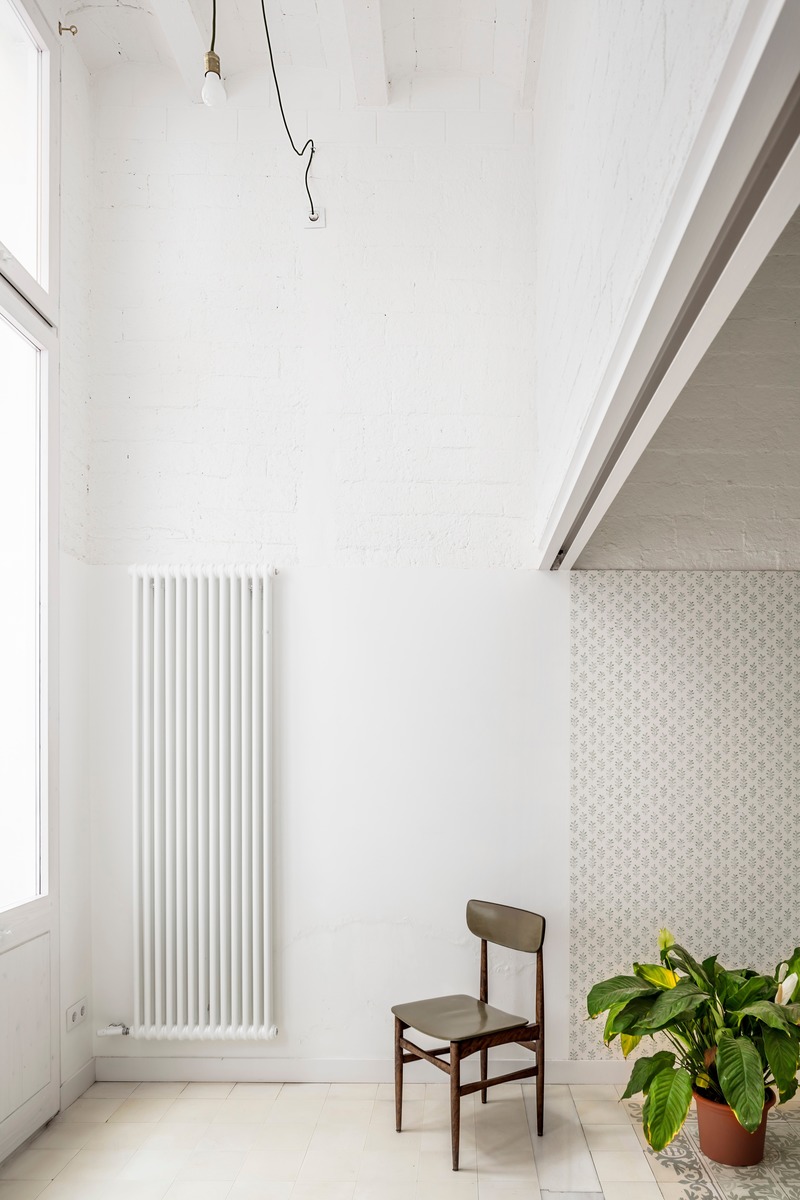
Vallirana 47. Hybrid superposition
vora
Ground floor apartment
Photo credit:
Adrià Goula
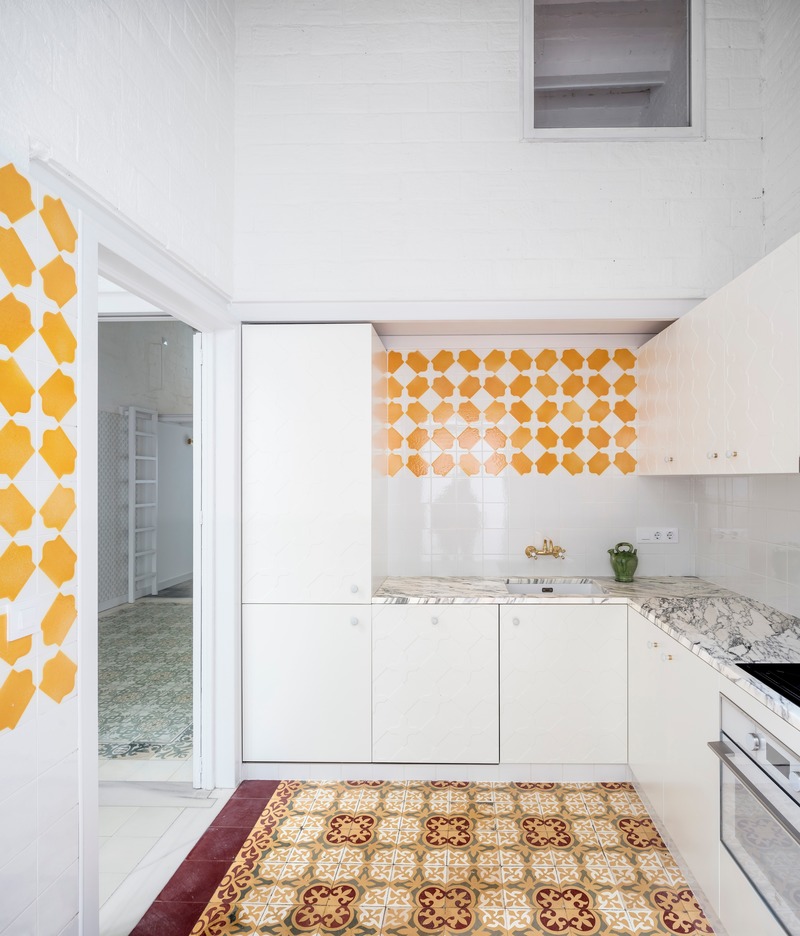
Vallirana 47. Hybrid superposition
vora
Ground floor apartment, kitchen. Bespoke tiles by Cumella
Photo credit:
Adrià Goula
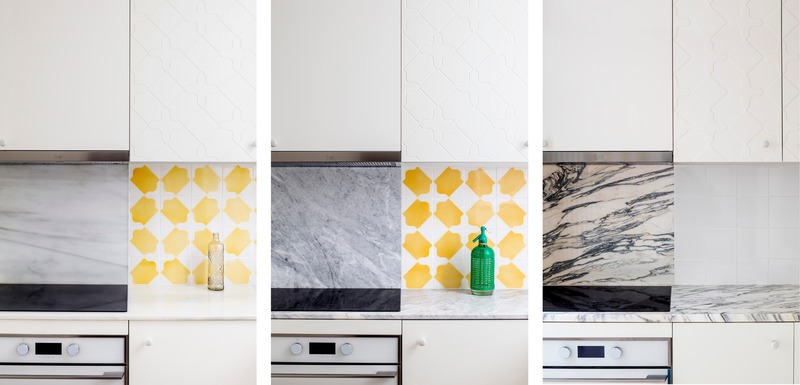
Vallirana 47. Hybrid superposition
vora
Gradient of color and material depending on floor level. Kitchens.
Photo credit:
Adrià Goula
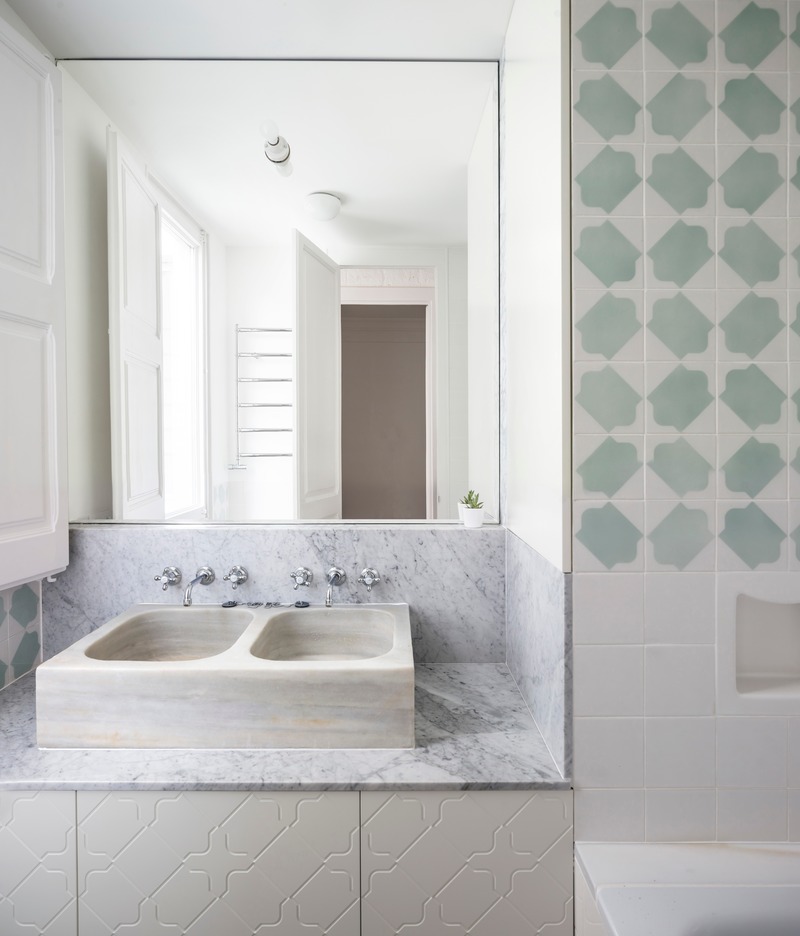
Vallirana 47. Hybrid superposition
vora
Bathroom. Marble sinks recycled from the building old kitchens. Bespoke tiles by Cumella
Photo credit:
Adrià Goula
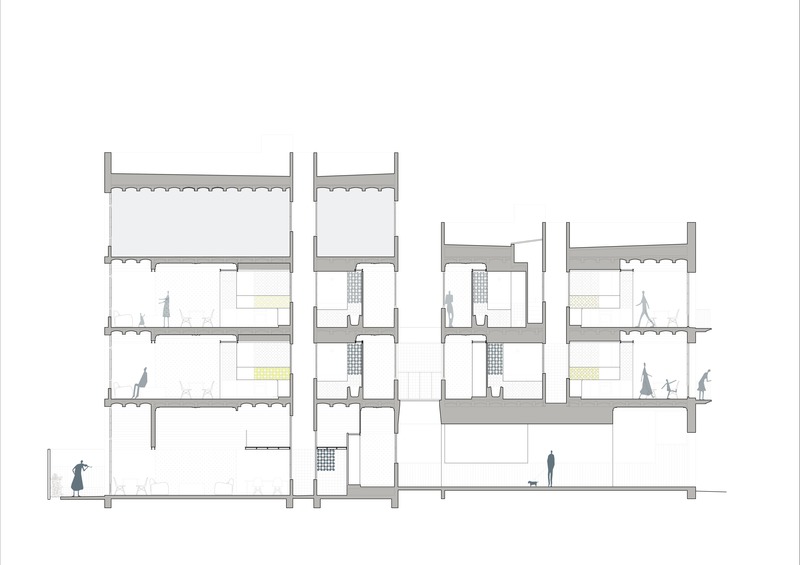
Vallirana 47. Hybrid superposition
vora
Building section
Photo credit:
vora
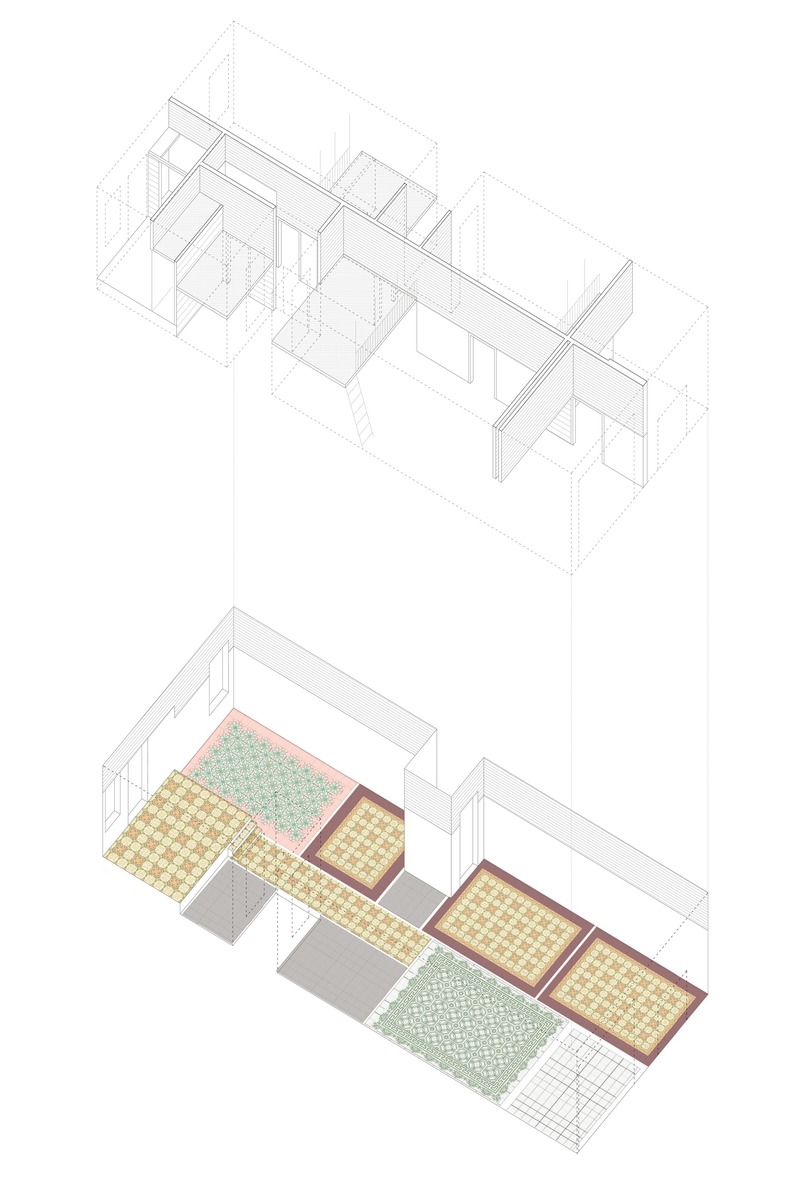
Vallirana 47. Hybrid superposition
vora
Axonometry. Ground floor
Photo credit:
vora
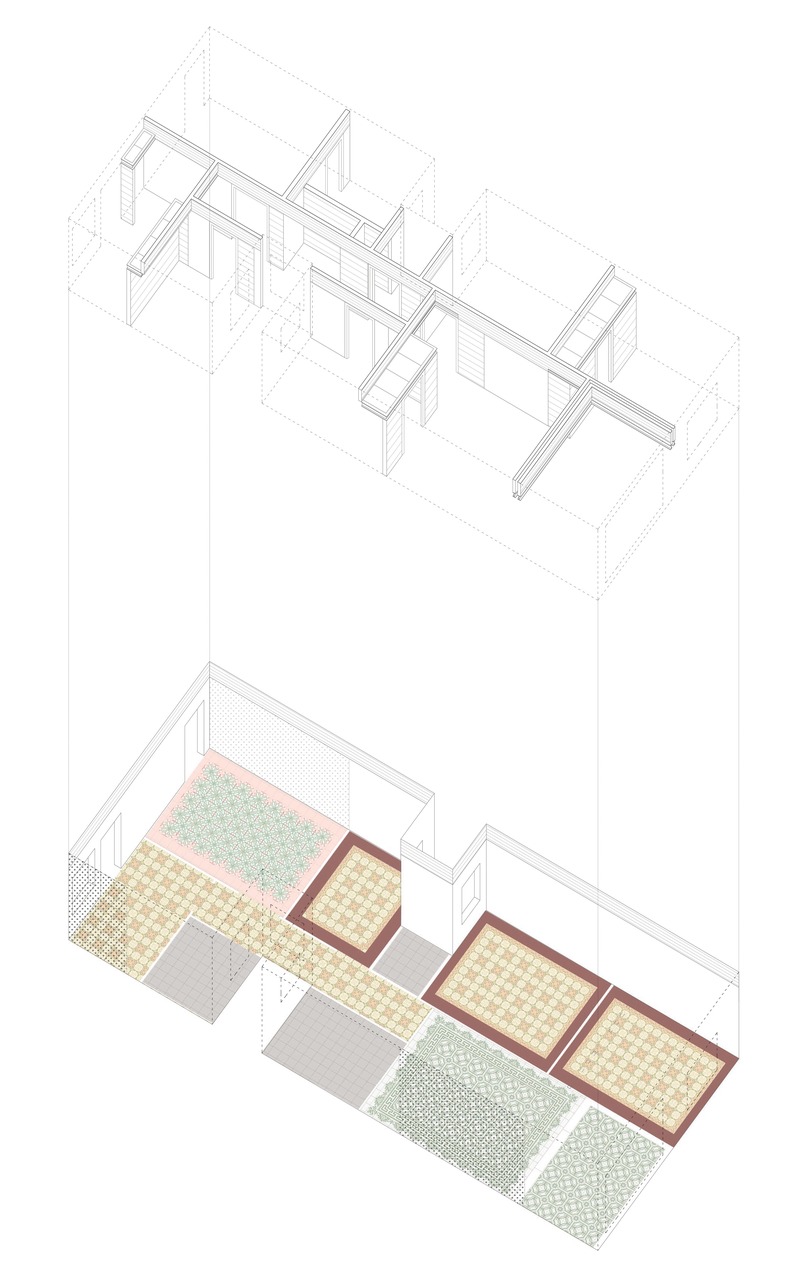
Vallirana 47. Hybrid superposition
vora
Axonometry. Typical floor.
Photo credit:
vora
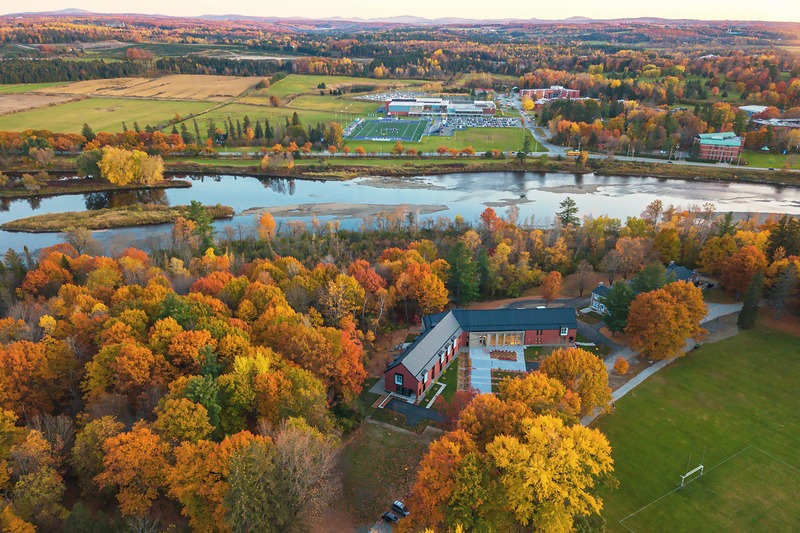
A century-old campus reinvents itself
ARCHITEM Wolff Shapiro Kuskowski architectes
Photo credit:
Maxime Brouillet
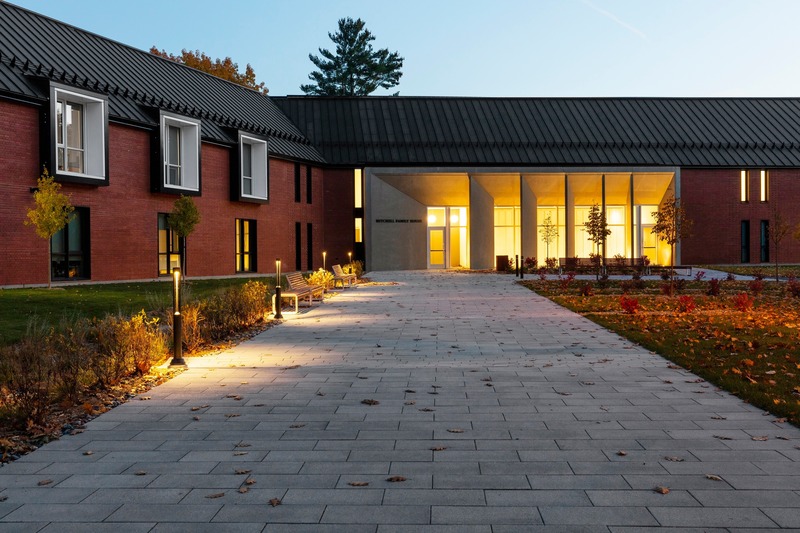
A century-old campus reinvents itself
ARCHITEM Wolff Shapiro Kuskowski architectes
Photo credit:
Maxime Brouillet
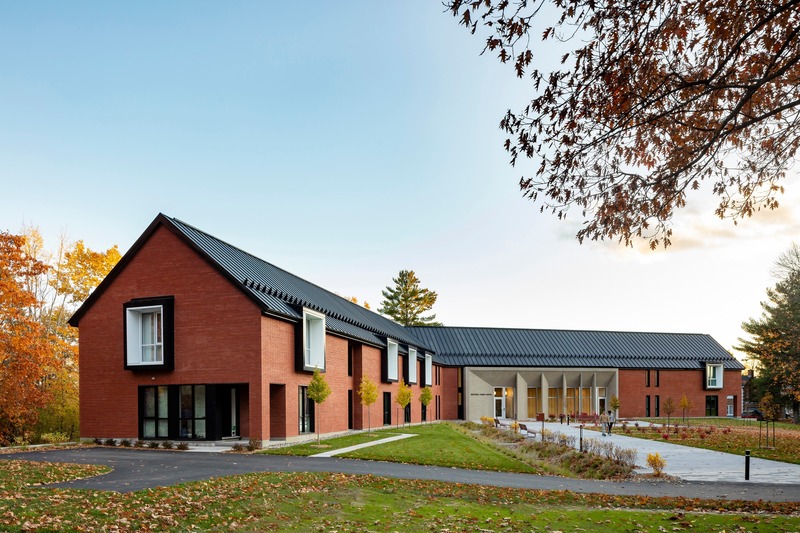
A century-old campus reinvents itself
ARCHITEM Wolff Shapiro Kuskowski architectes
Photo credit:
Maxime Brouillet


Advertising
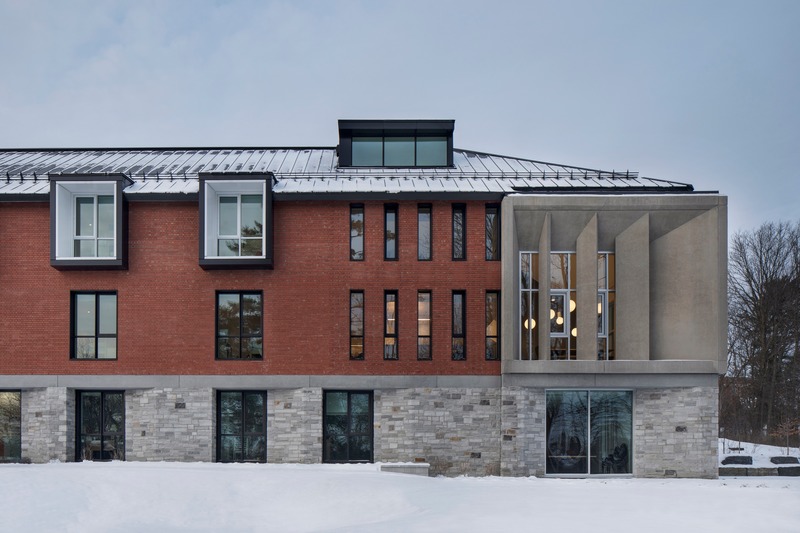
A century-old campus reinvents itself
ARCHITEM Wolff Shapiro Kuskowski architectes
Photo credit:
Adrien Williams
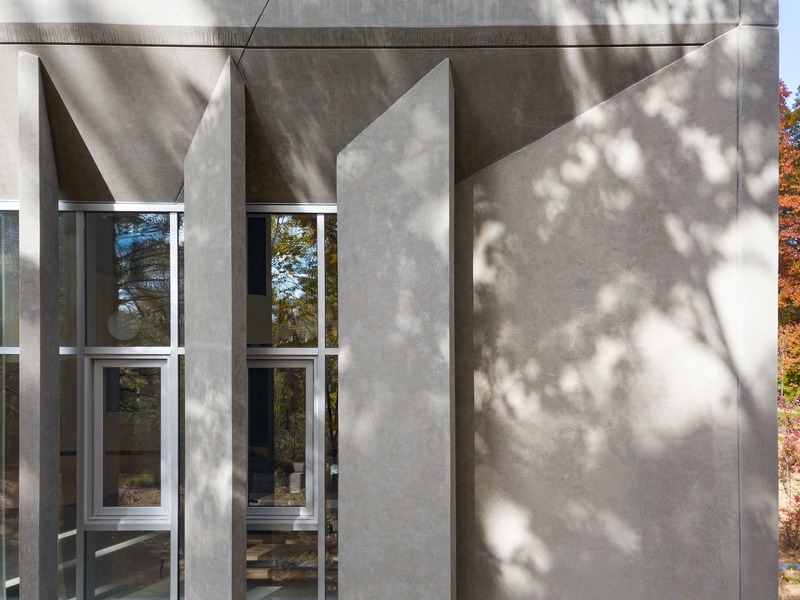
A century-old campus reinvents itself
ARCHITEM Wolff Shapiro Kuskowski architectes
Photo credit:
Maxime Brouillet
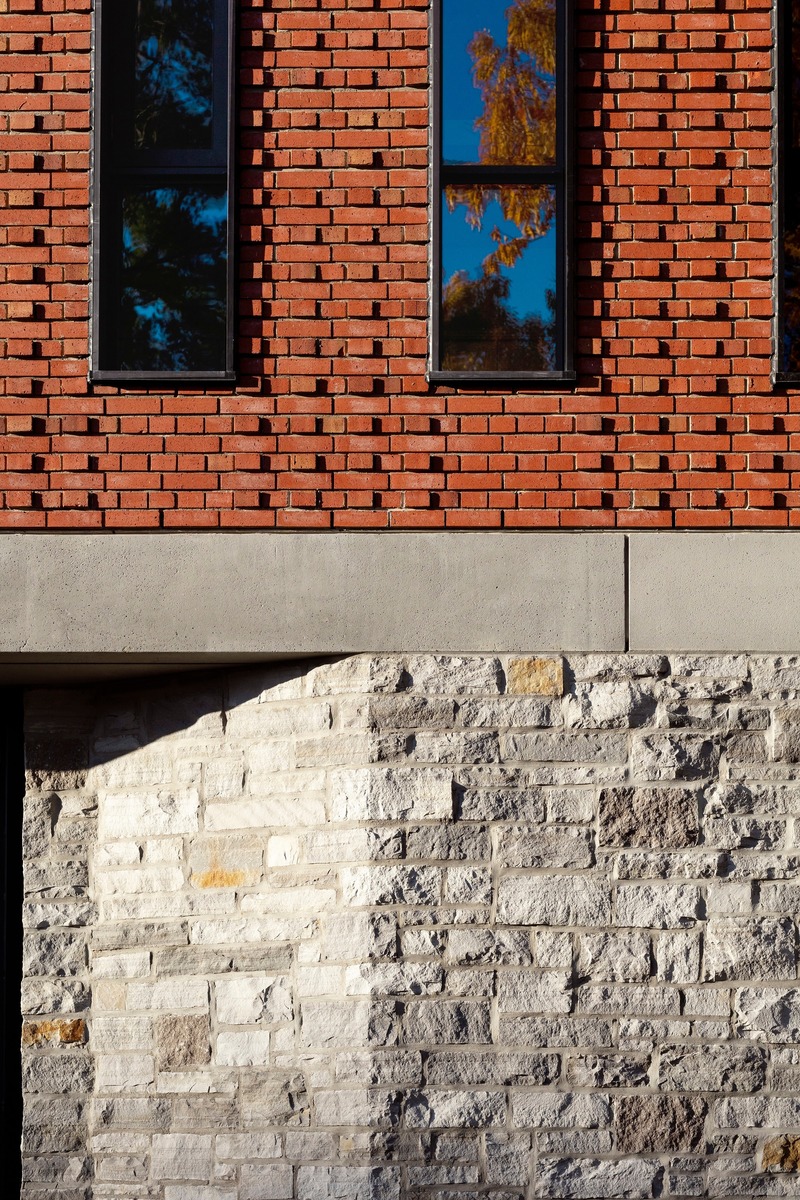
A century-old campus reinvents itself
ARCHITEM Wolff Shapiro Kuskowski architectes
Photo credit:
Maxime Brouillet
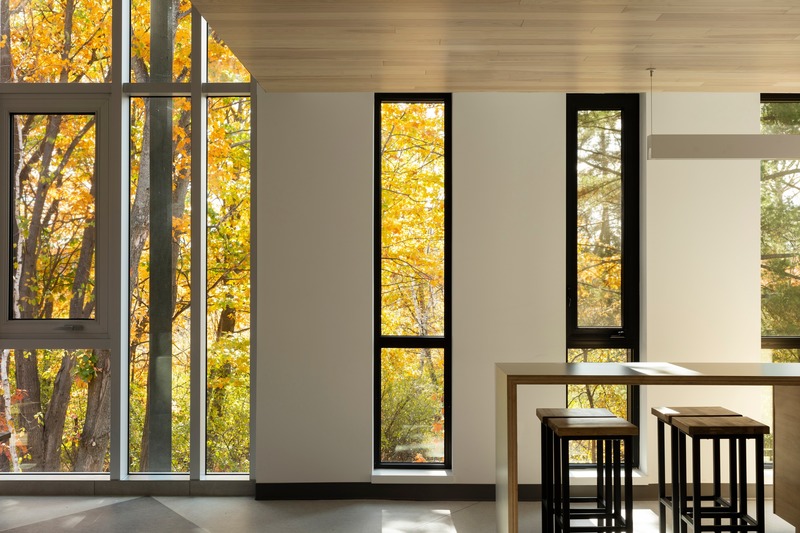
A century-old campus reinvents itself
ARCHITEM Wolff Shapiro Kuskowski architectes
Photo credit:
Maxime Brouillet
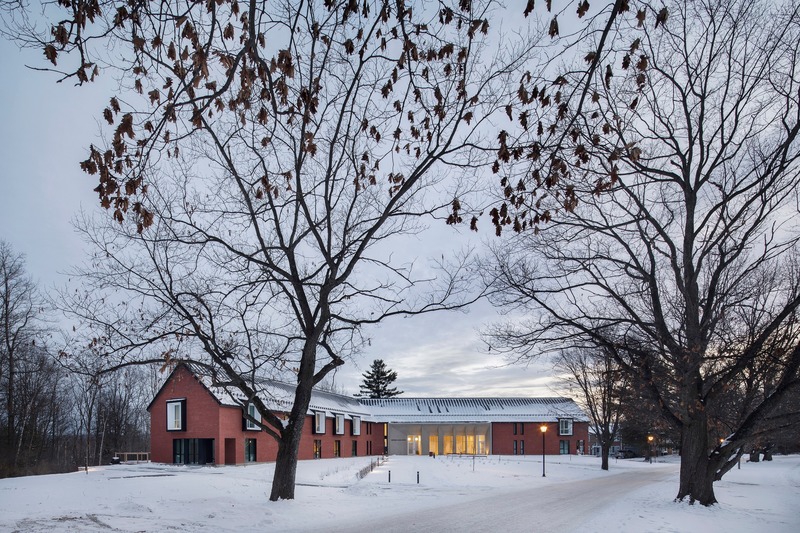
A century-old campus reinvents itself
ARCHITEM Wolff Shapiro Kuskowski architectes
Photo credit:
Adrien Williams
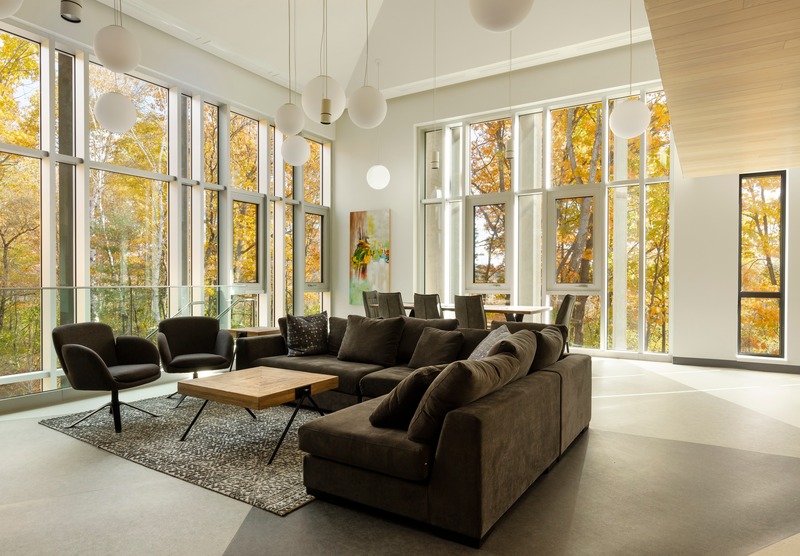
A century-old campus reinvents itself
ARCHITEM Wolff Shapiro Kuskowski architectes
Photo credit:
Maxime Brouillet
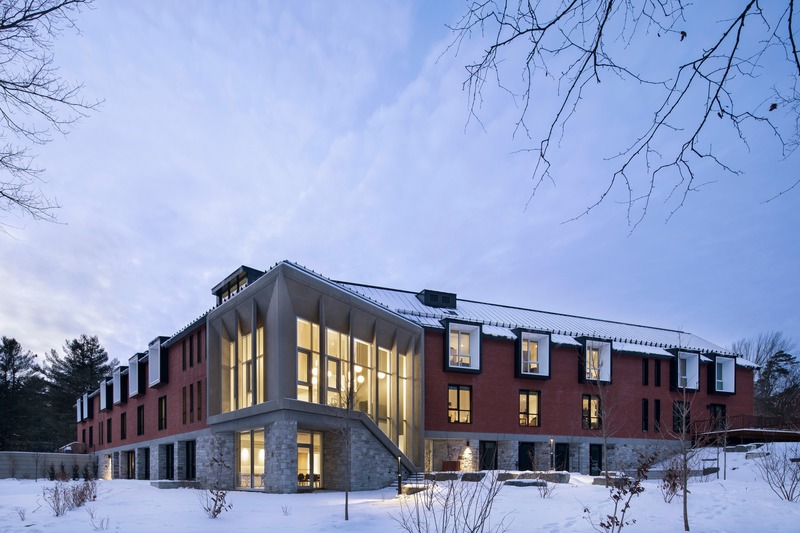
A century-old campus reinvents itself
ARCHITEM Wolff Shapiro Kuskowski architectes
Photo credit:
Adrien Williams
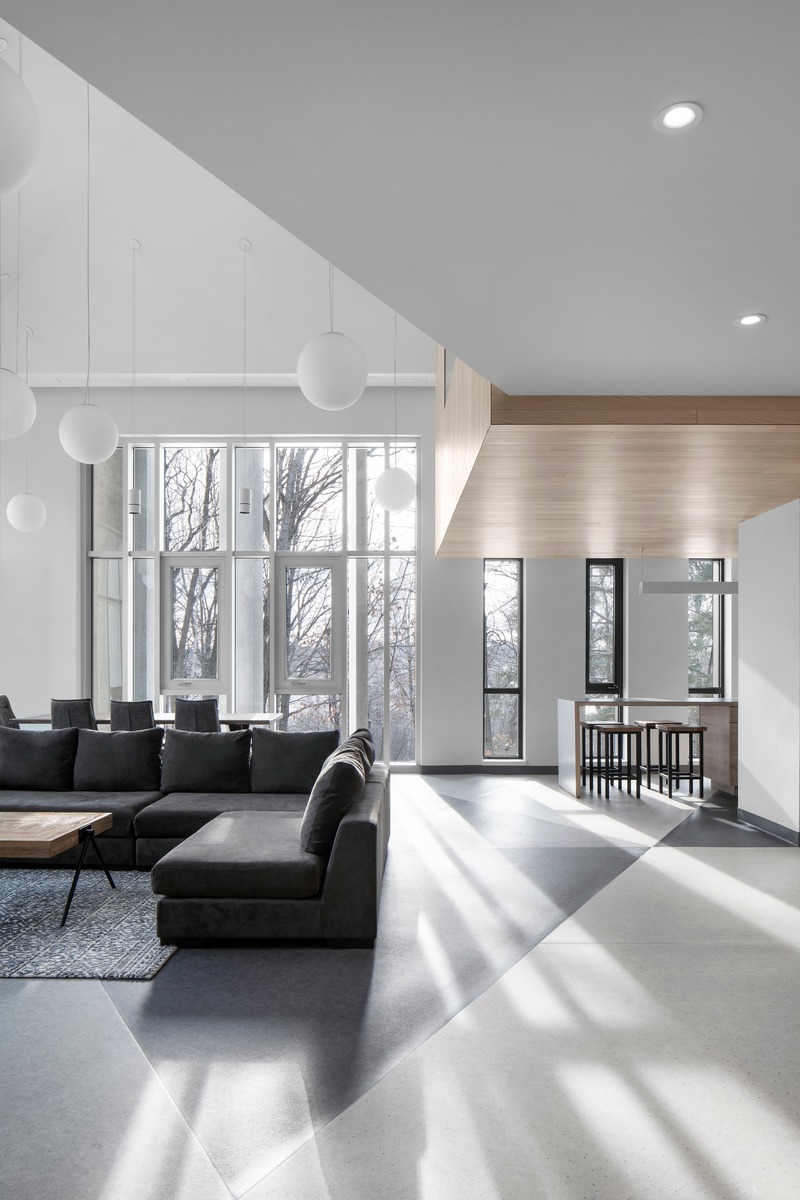
A century-old campus reinvents itself
ARCHITEM Wolff Shapiro Kuskowski architectes
Photo credit:
Adrien Williams
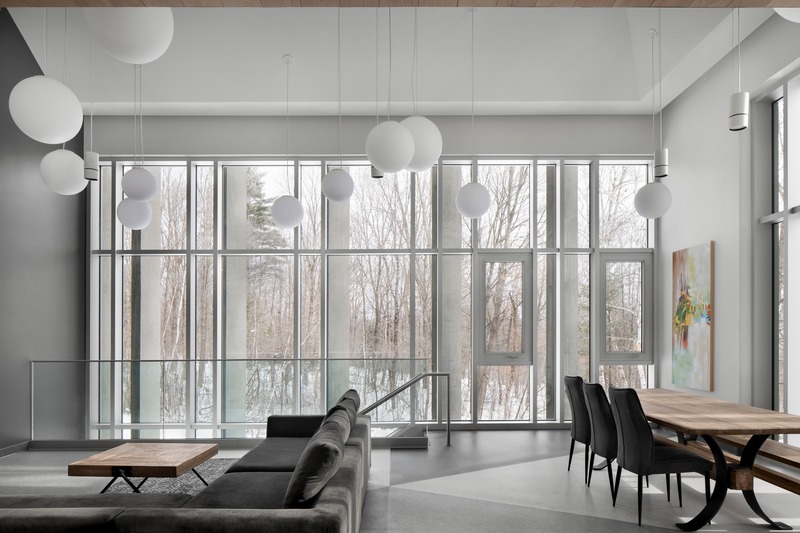
A century-old campus reinvents itself
ARCHITEM Wolff Shapiro Kuskowski architectes
Photo credit:
Adrien Williams
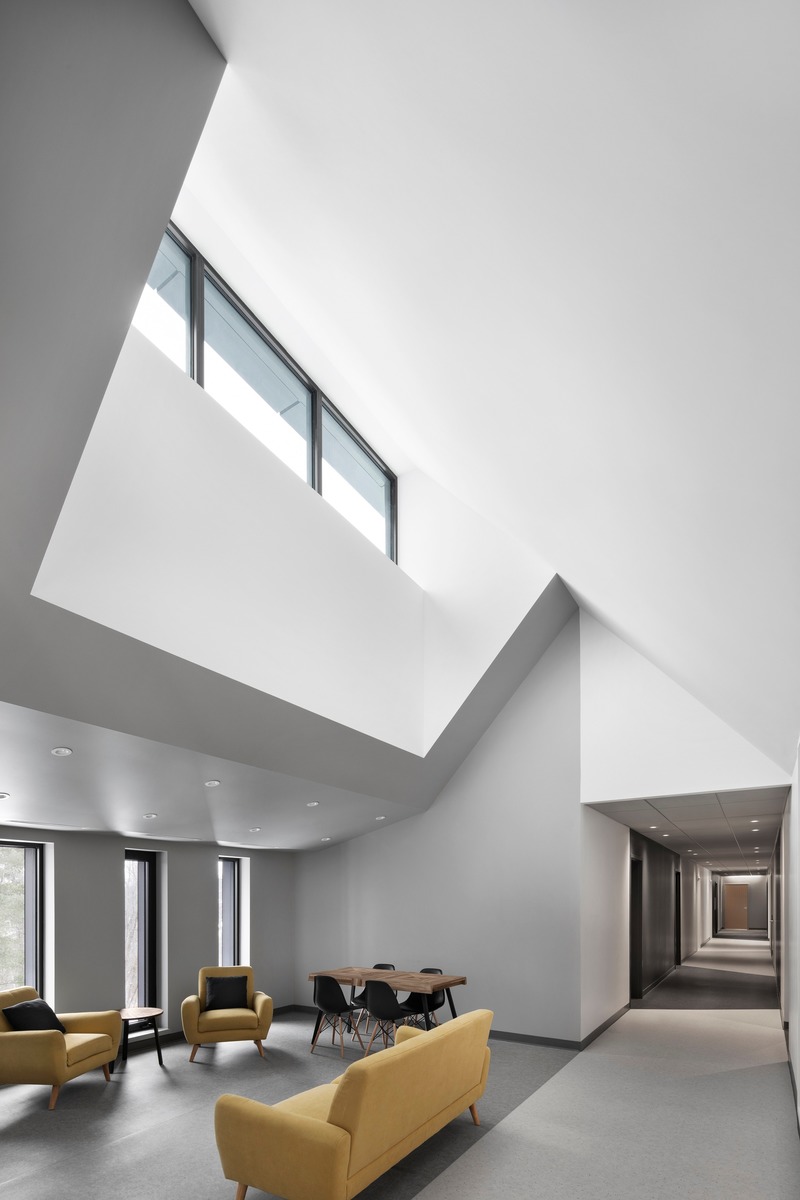
A century-old campus reinvents itself
ARCHITEM Wolff Shapiro Kuskowski architectes
Photo credit:
Adrien Williams
Advertising